Norms Restoration of 1939 Leyland TD5 [1635]
2026
Body January
Norman Julian 16 Jan
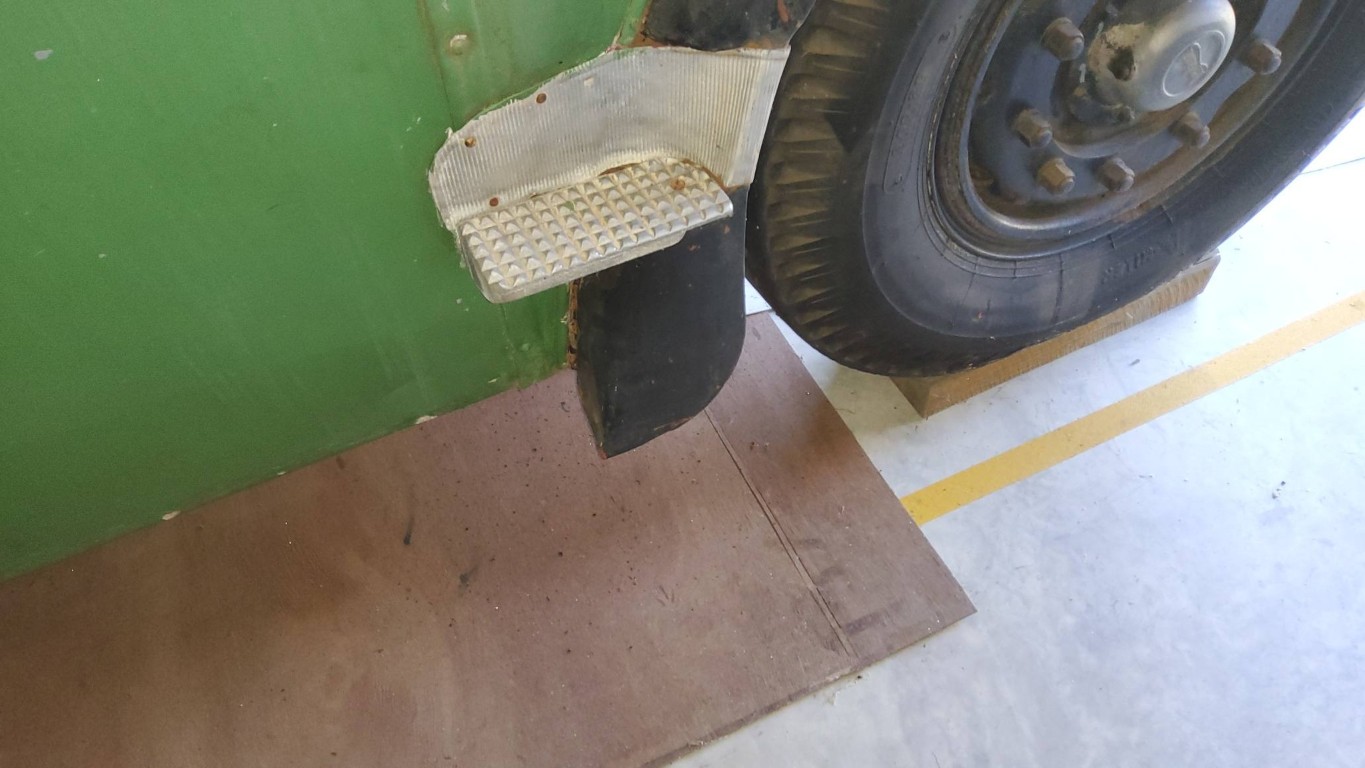
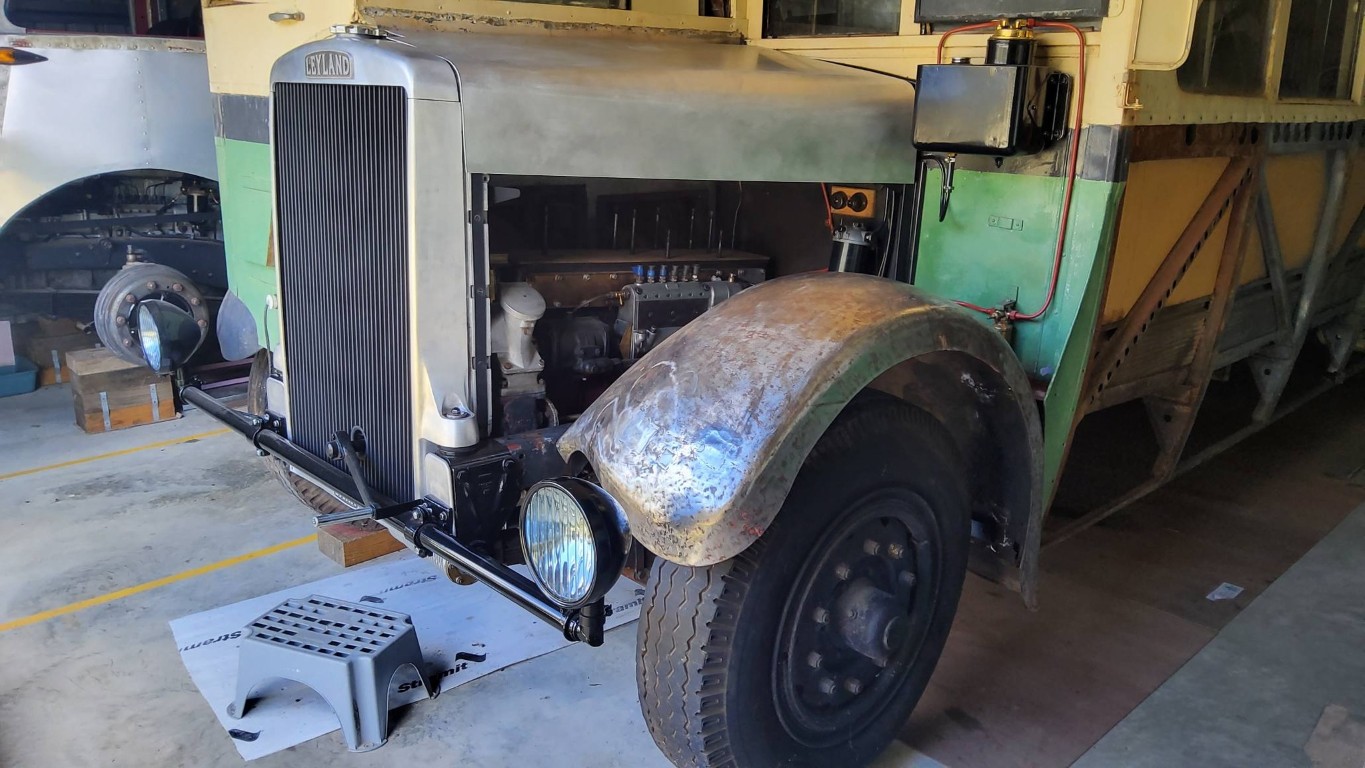
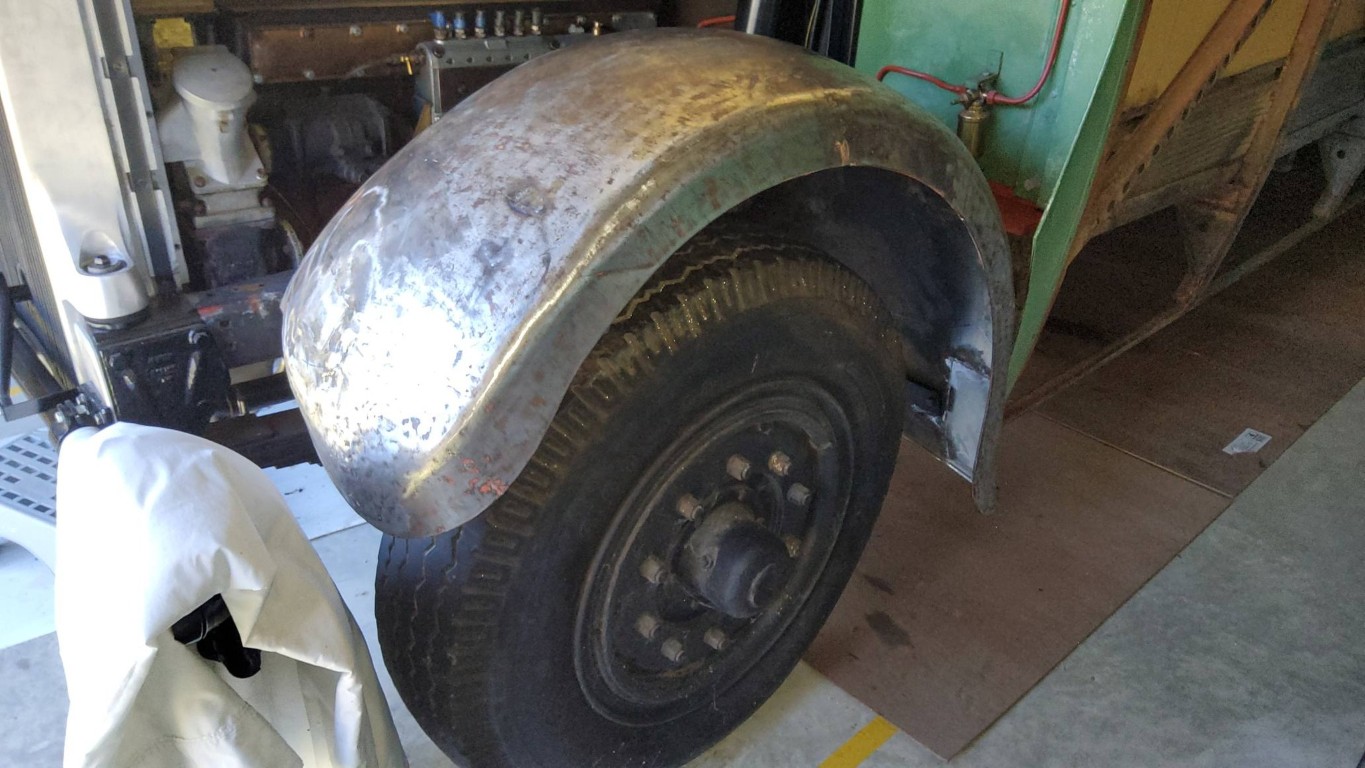
After a small break doing necessary things around the place I got some good hours on this guard.
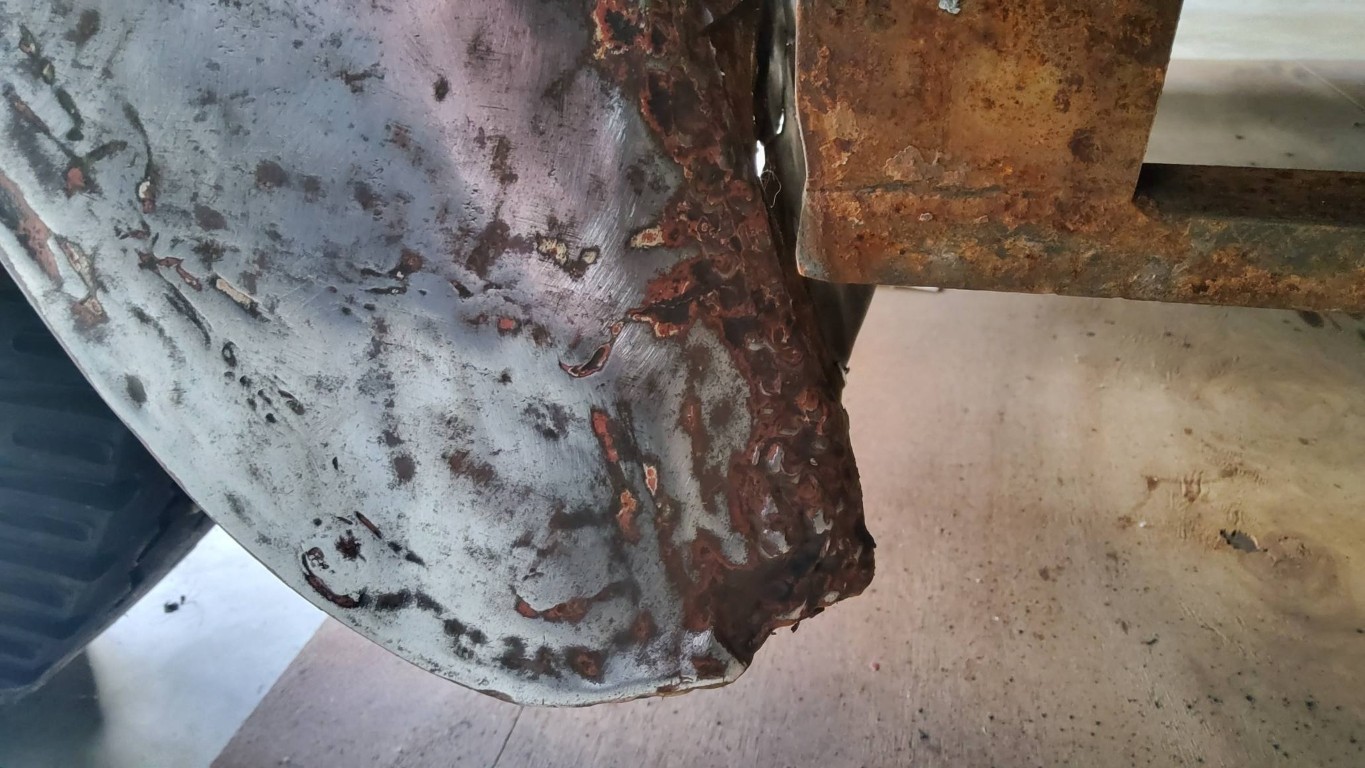
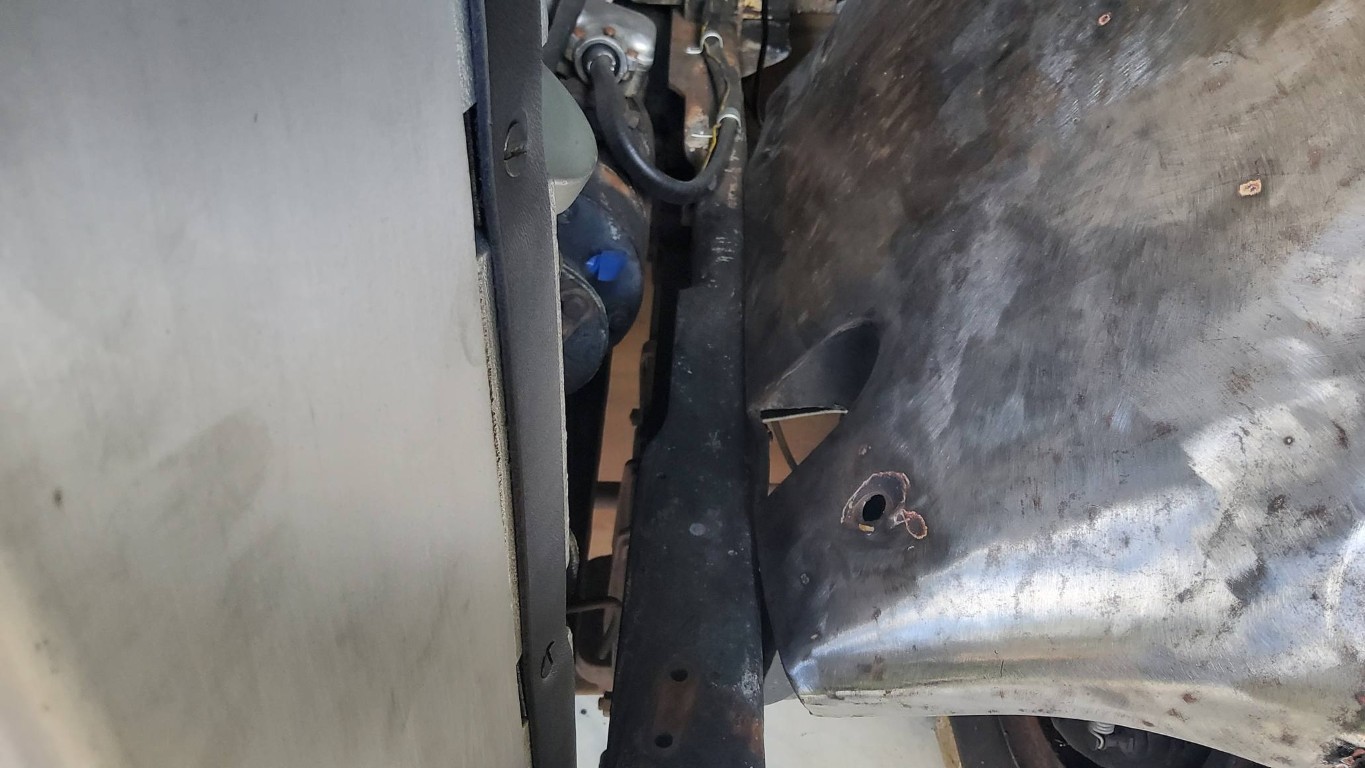
I thought I would start with the obvious rust at the very top and a section round near the engine.
There was 4 others around the front side, but I left the back side section till I put the guard back
in its sitting position so as to see how much play I have with that mess with blobs of weld.
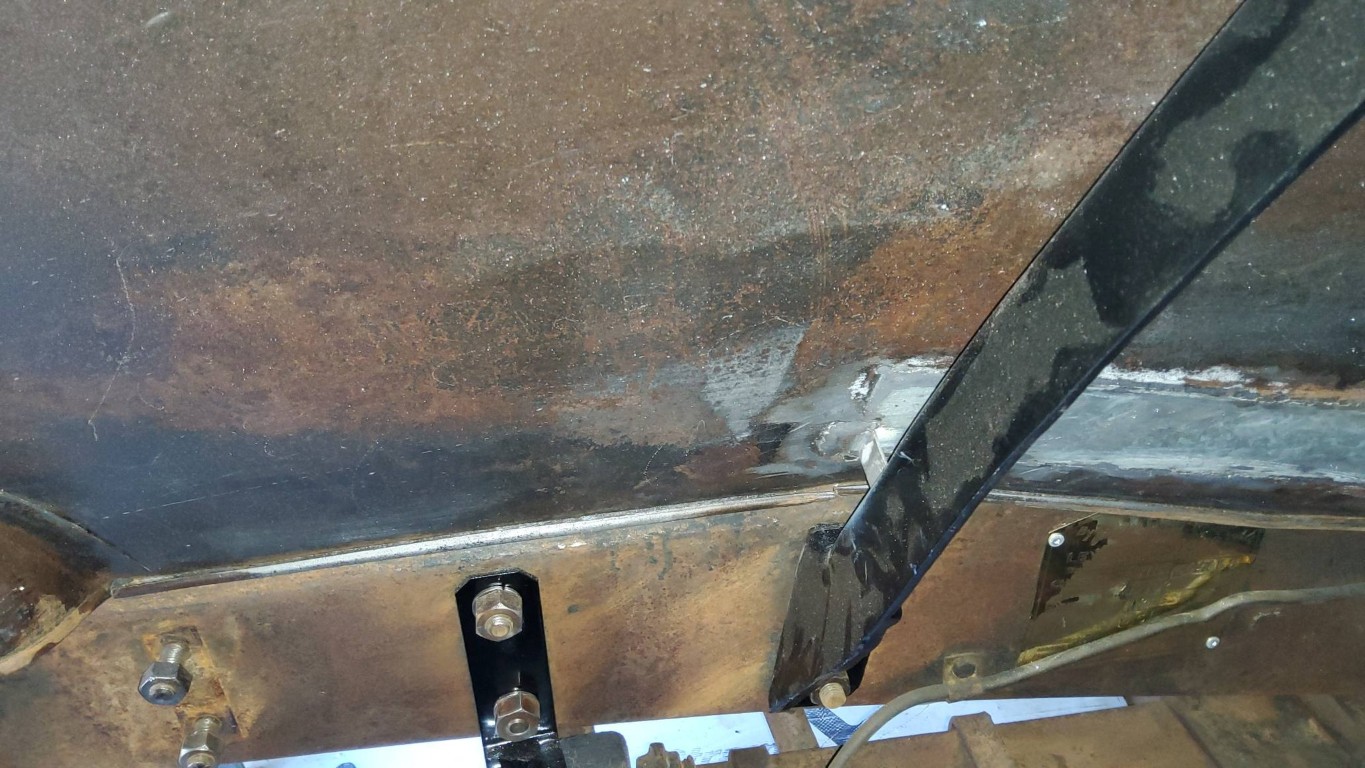
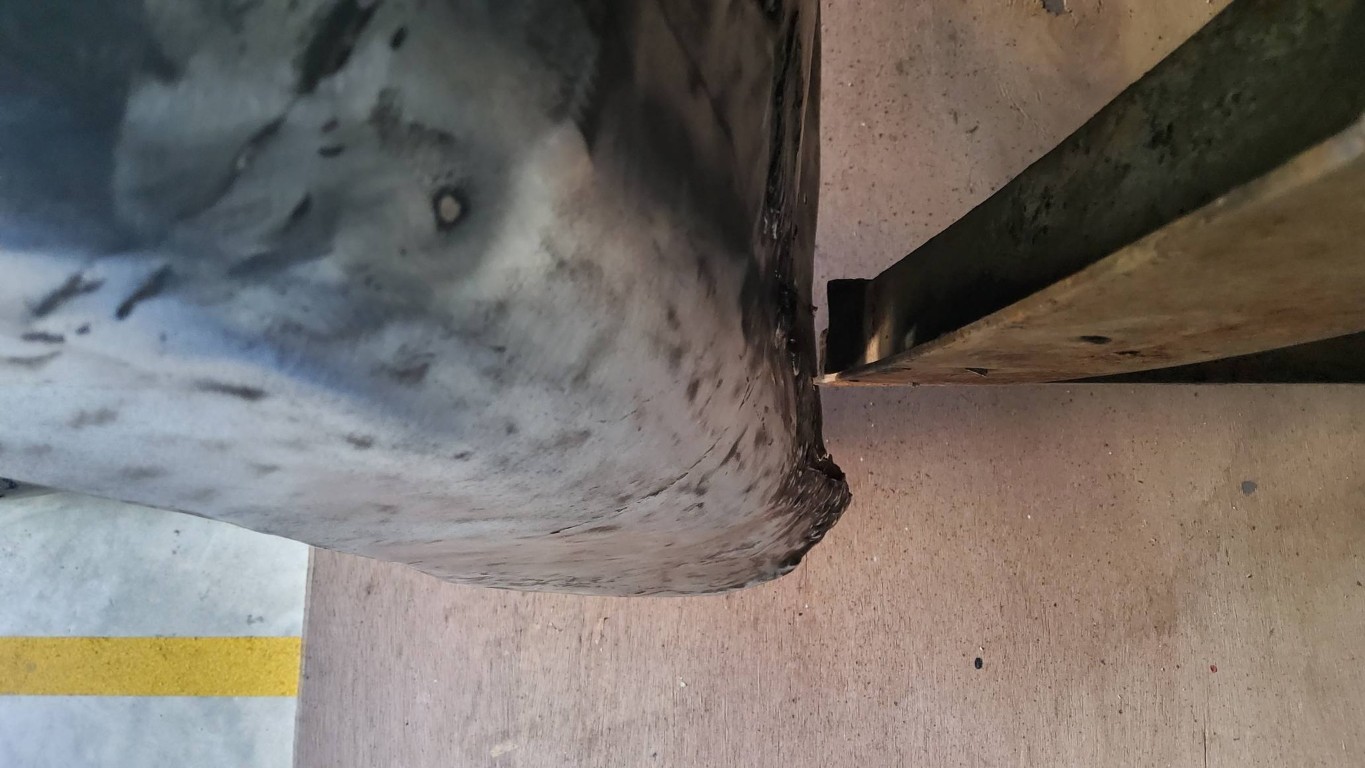
The strange thing is the 2 brackets that stand off the chassis frame that suppose to hold it in place
don't come even close to touching the guard. I compared this to the TS7s guard and that is about the same.
What I'm going to do at this stage is to work out the position of the holes in the 2 brackets and weld on
to the underside of the guard some standoff brackets with threads attached so as to bolt them on the
supporting brackets.
I'm actually wondering if these guards on both buses were replaced over the years.
After a small break doing necessary things around the place I got some good hours on this guard.
I thought I would start with the obvious rust at the very top and a section round near the engine.
There was 4 others around the front side, but I left the back side section till I put the guard back
in its sitting position so as to see how much play I have with that mess with blobs of weld.
The strange thing is the 2 brackets that stand off the chassis frame that suppose to hold it in place
don't come even close to touching the guard. I compared this to the TS7s guard and that is about the same.
What I'm going to do at this stage is to work out the position of the holes in the 2 brackets and weld on
to the underside of the guard some standoff brackets with threads attached so as to bolt them on the
supporting brackets.
I'm actually wondering if these guards on both buses were replaced over the years.
Peter Gurney
It look great Norman
Norman Julian
The amount of work just in this small area around the engine bay is staggering.
Most can't be seen.
Robert Hood
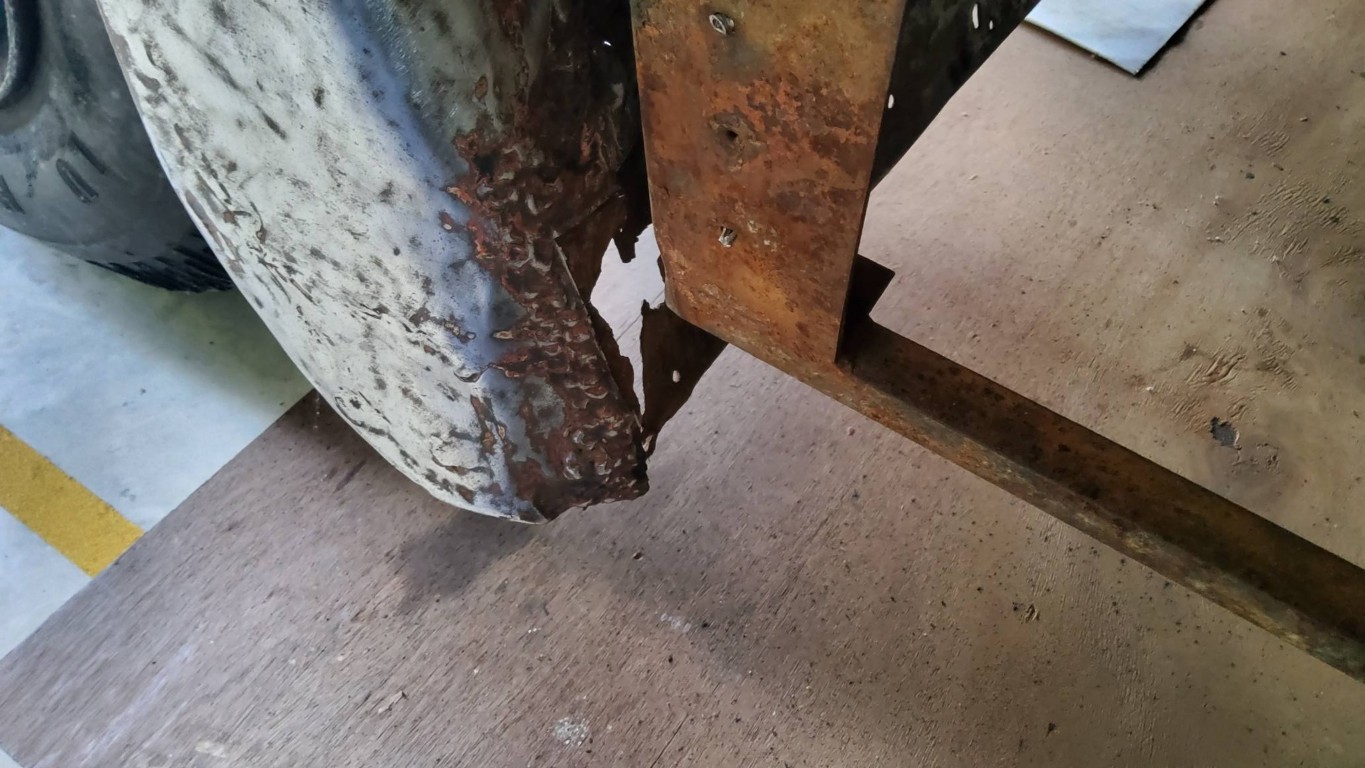
Patch after patch, the nearside guard of my Albion was so bad that we cut out all the welded sections
and replaced them with new metal patches.
You've got a big job there Norm.
Norman Julian
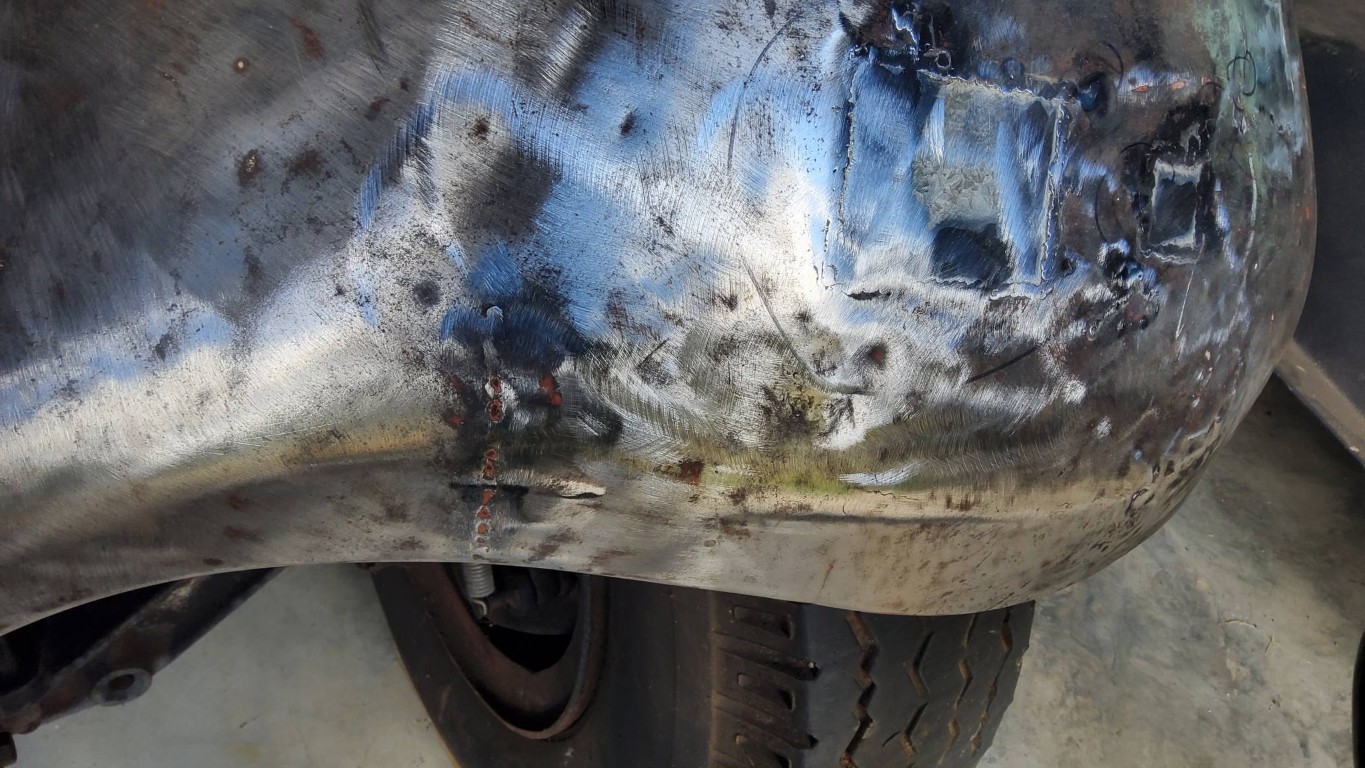
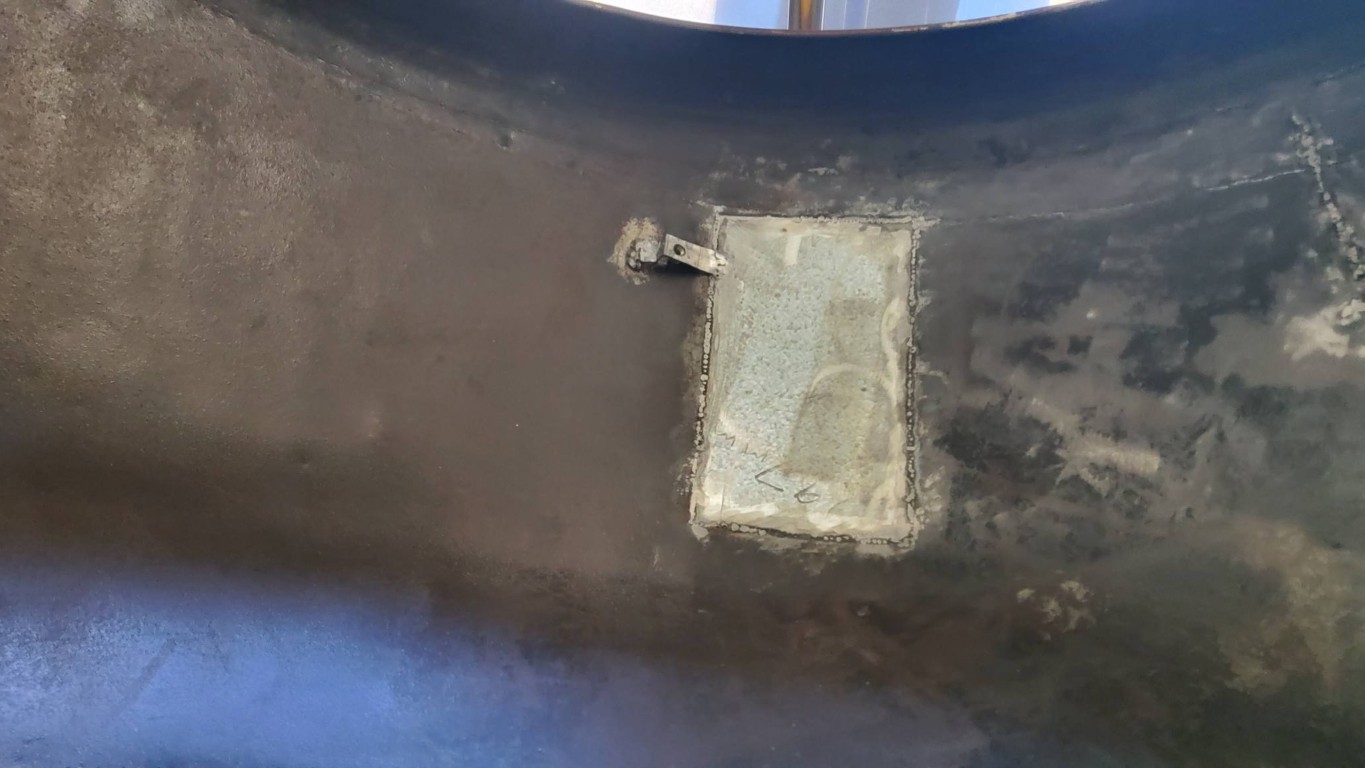
Unlike the AEC and Leyland later buses the curves on this guard go both north/south as well as east west which makes large
patches tremendously hard without the likes of an "English wheel". I do have a roller but that only helps in one direction.
I thought about this before cutting large sections out of the front part of the guard. Hense instead of one large section,
I have 4 smaller sections replaced.
Robert Hood
Norman Julian, a friend of mine has a wheel machine.
It look great Norman
Norman Julian
The amount of work just in this small area around the engine bay is staggering.
Most can't be seen.
Robert Hood
Patch after patch, the nearside guard of my Albion was so bad that we cut out all the welded sections
and replaced them with new metal patches.
You've got a big job there Norm.
Norman Julian
Unlike the AEC and Leyland later buses the curves on this guard go both north/south as well as east west which makes large
patches tremendously hard without the likes of an "English wheel". I do have a roller but that only helps in one direction.
I thought about this before cutting large sections out of the front part of the guard. Hense instead of one large section,
I have 4 smaller sections replaced.
Robert Hood
Norman Julian, a friend of mine has a wheel machine.
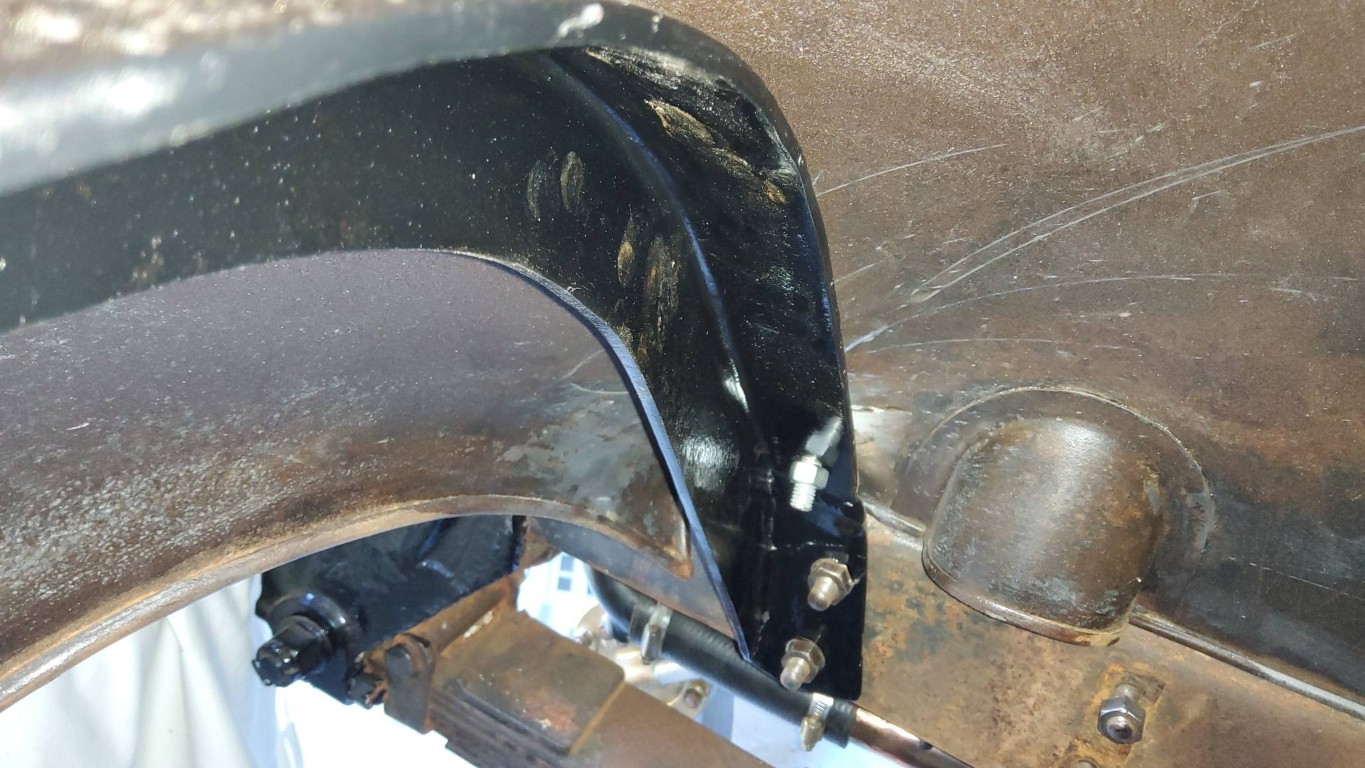
Norman Julian 22nd Jan
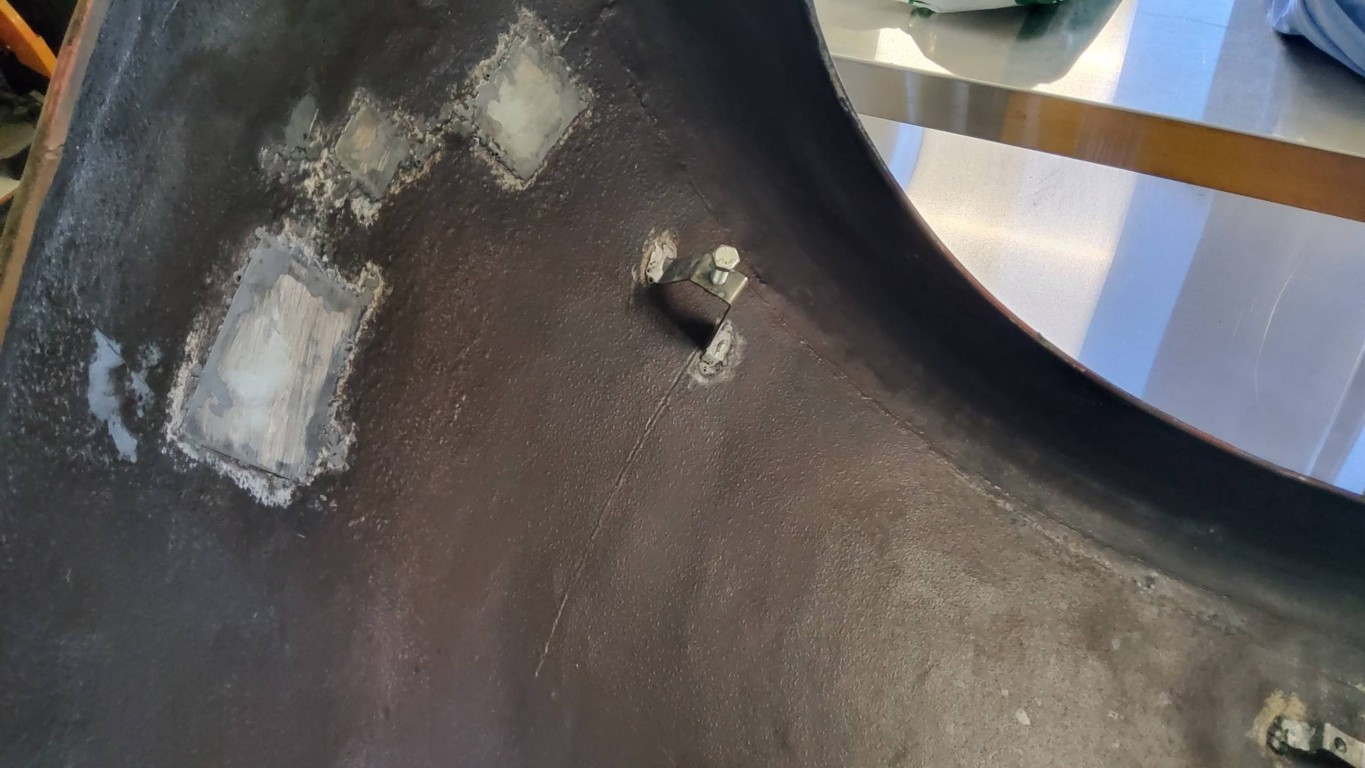
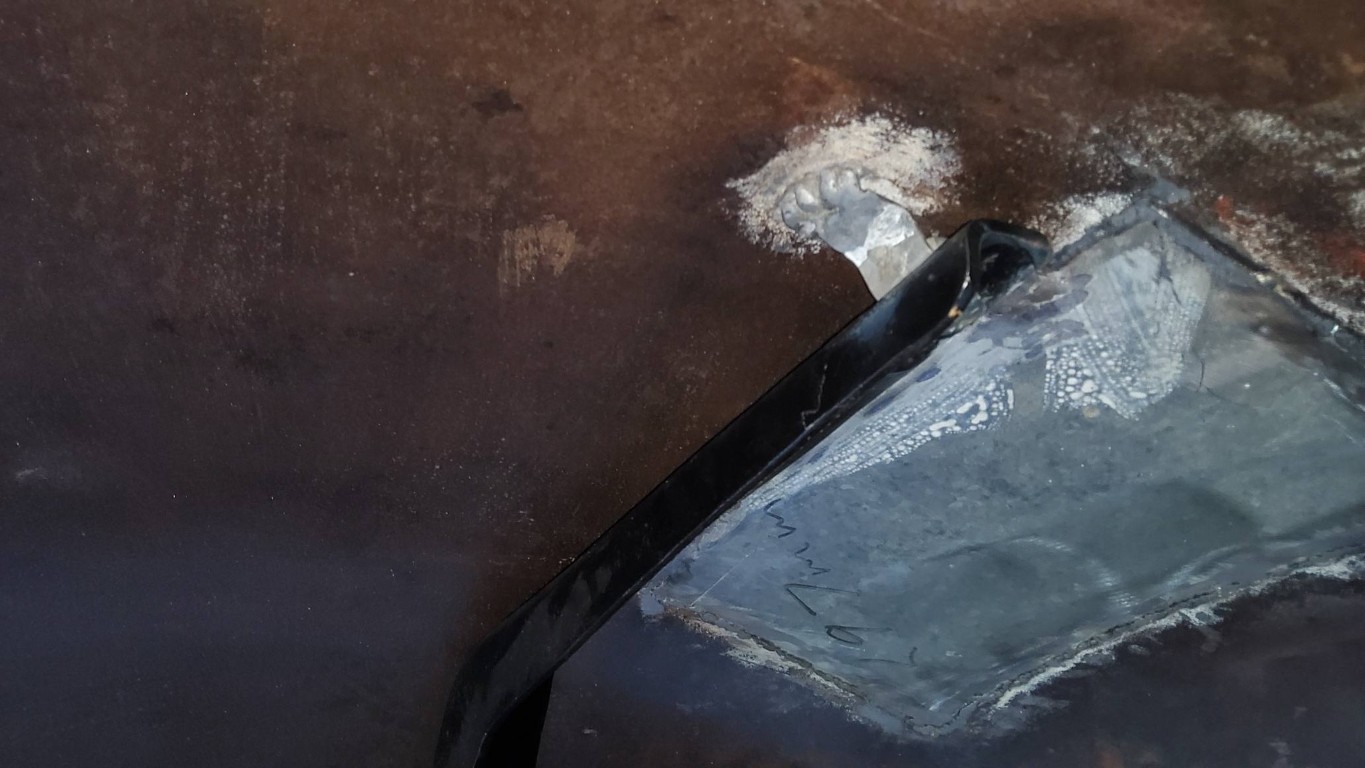
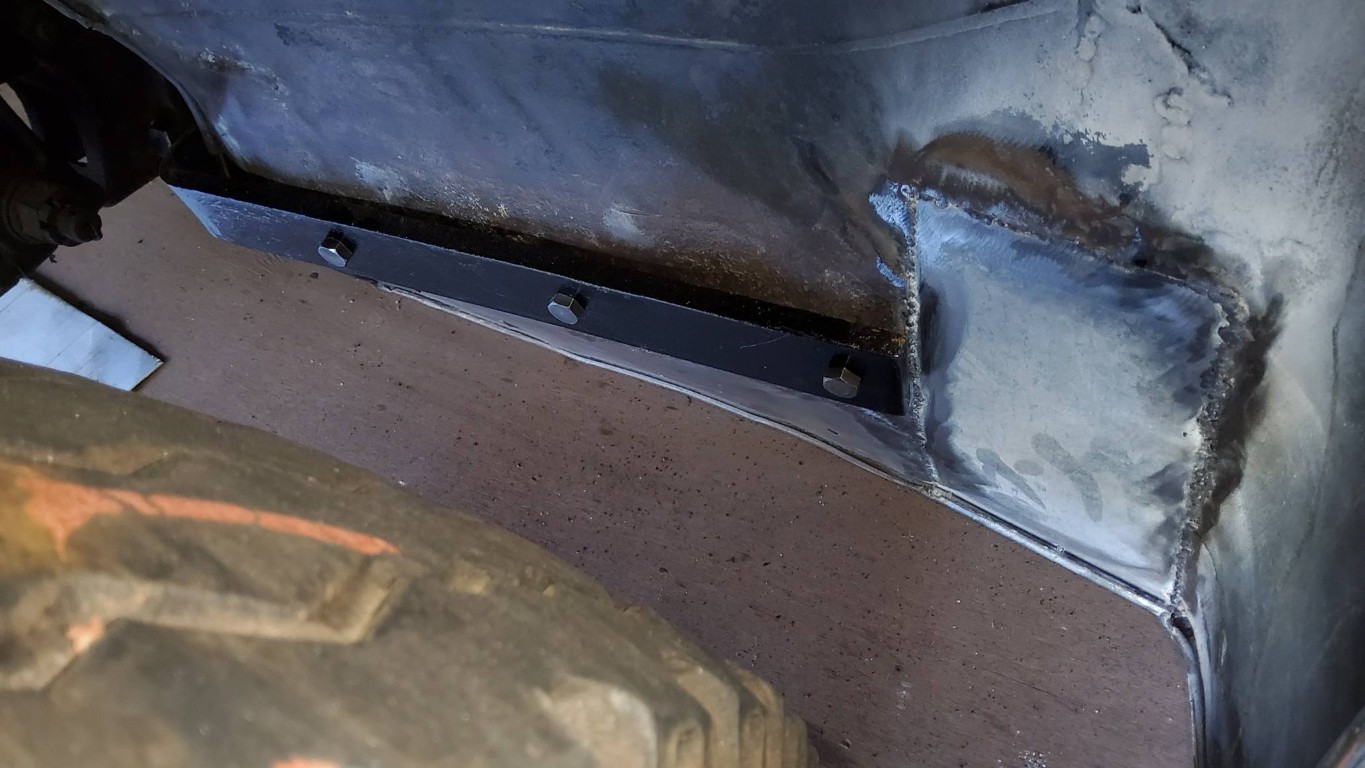
Today I made these standoff brackets for the underside of the guard.
There was no evidence of any bolts from the top except for around close to the engine.
I'm pretty much sure from what I can see that this guard was never designed to go with this brackets.
It was a real mess underneath.
Nothing lined up and any wonder it was rotted.
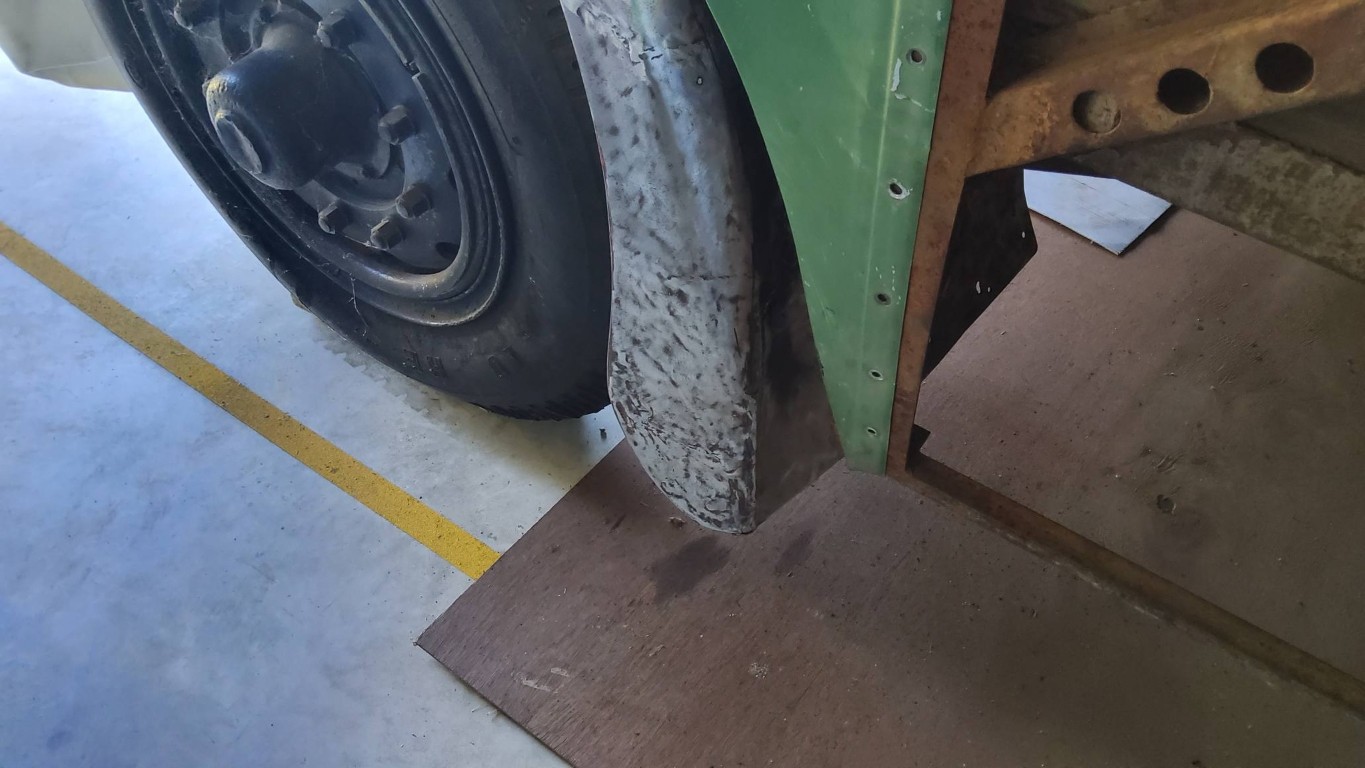
I sat looking at the side rear of the guard with that particular shape that didn't really show any uniform direction,
so I made it the same shape as the drivers side.
Putting it back in position to see how everything ligns up was successful, so now I can deal with micro holes,
bumps and dints.
Today I made these standoff brackets for the underside of the guard.
There was no evidence of any bolts from the top except for around close to the engine.
I'm pretty much sure from what I can see that this guard was never designed to go with this brackets.
It was a real mess underneath.
Nothing lined up and any wonder it was rotted.
I sat looking at the side rear of the guard with that particular shape that didn't really show any uniform direction,
so I made it the same shape as the drivers side.
Putting it back in position to see how everything ligns up was successful, so now I can deal with micro holes,
bumps and dints.

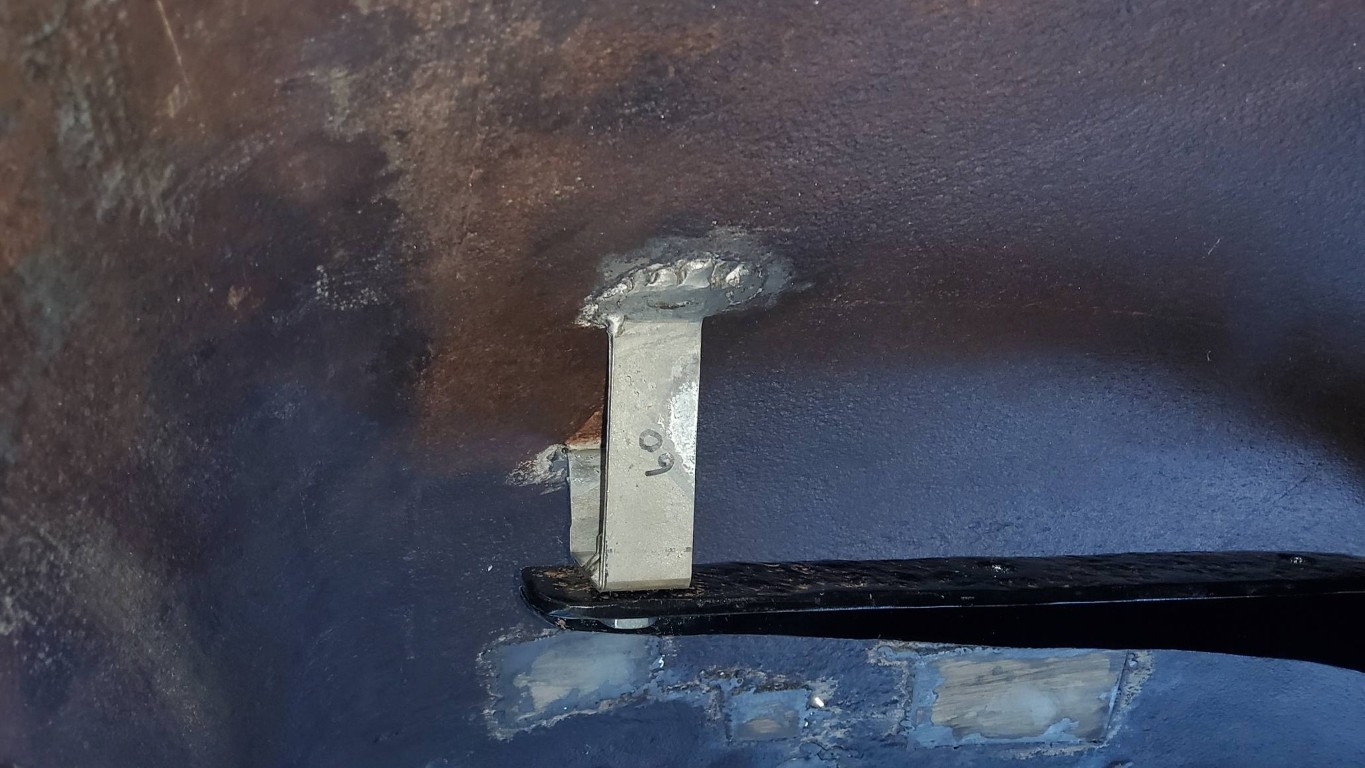
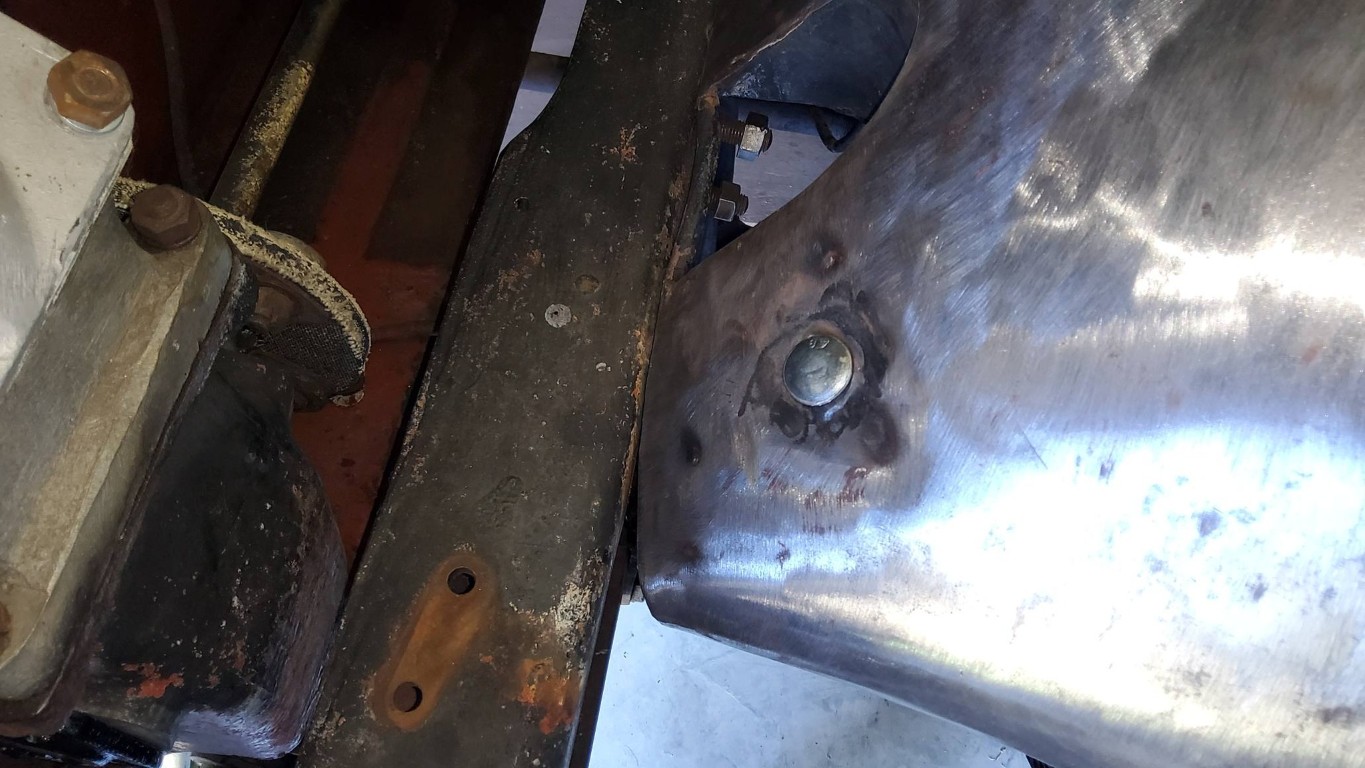
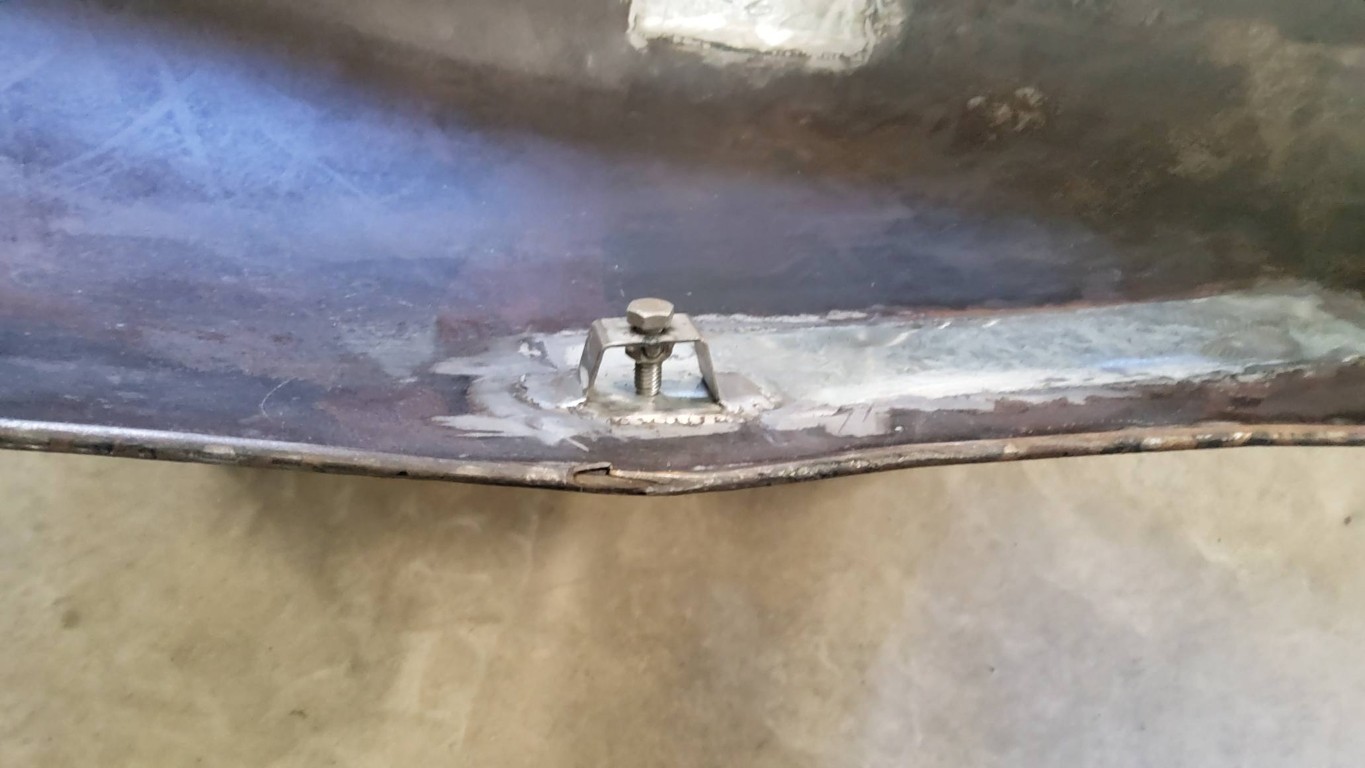
Norman Julian
With this bolted area I used a cup head bolt with a square shoulder so as to not move in the hole.
I welded a washer onto the underside of the guard and filed a square hole for the bolt.
With this bolted area I used a cup head bolt with a square shoulder so as to not move in the hole.
I welded a washer onto the underside of the guard and filed a square hole for the bolt.